The GM series engines came with one of two control panels; A or B.
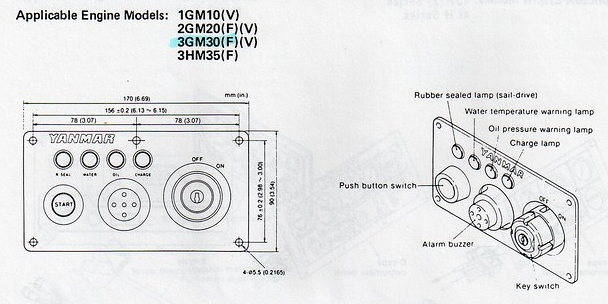
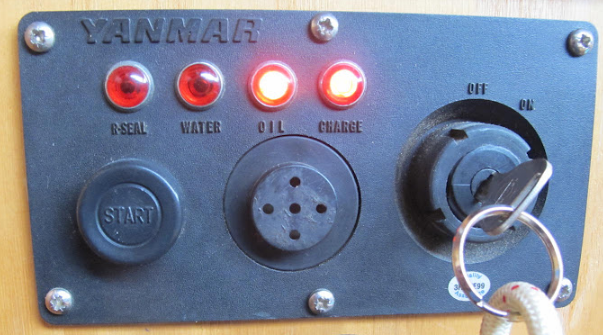

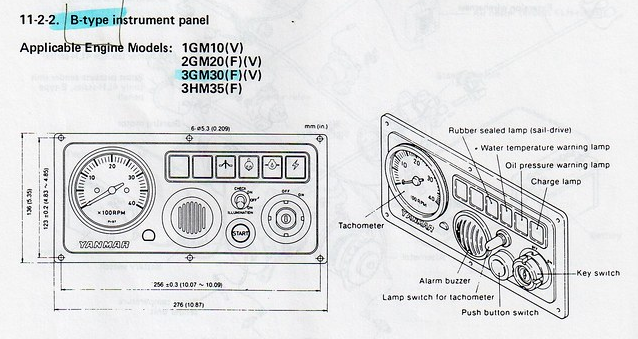
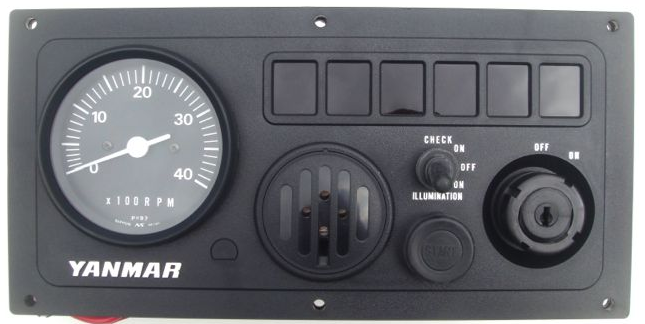
Depending on which panel your GM engine was supplied with, your wiring loom will be different and some sensors will not be populated on your engine. This is a source of frustration for anyone hoping to upgrade their Panel A installation to include a tachometer or even add a simple hours counter. Let’s have a look at the easiest of these projects – adding an Engine Hours meter.

Installing an Engine Hours counter on a Yanmar GM series diesel engine – panel A
Your car (probably) has a mile or a kilometre gauge built in to the dashboard. That way, you can time your service intervals accurately and protect your engine from excessive wear and tear. This measurement, however, has less meaning in a marine diesel engine installation. Distance travelled while under power is a result of many factors on a sailboat, not just engine output. It’s also a difficult measurement to accurately capture over water.
A more practical measurement is “hours that the engine has been working”. This has limitations as some engines are worked harder than others.
Nevertheless, a useful point of data for marine diesels is engine hours. Again, it let’s us service our engines in a responsible way.
Generic hour meters are widely available [check the price of one on Amazon.com] and some take only two wires to operate. When 12v dc is applied, they count forward in time. When the voltage is removed, they stop counting. Some have an option of a light.
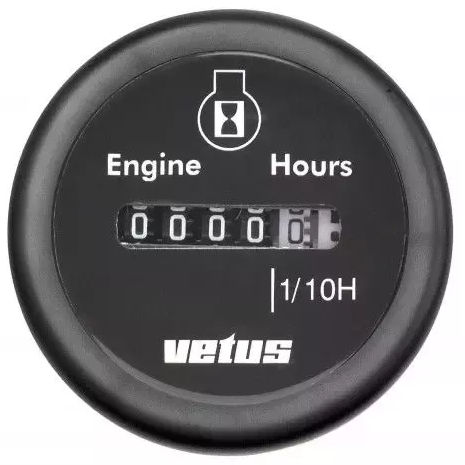
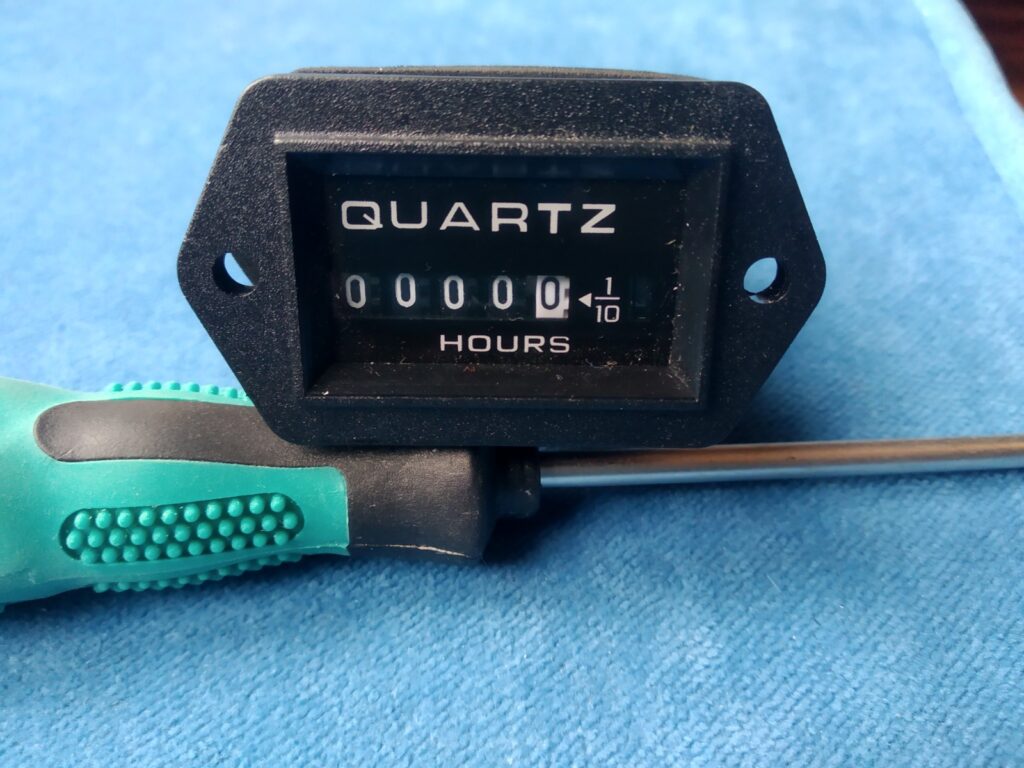
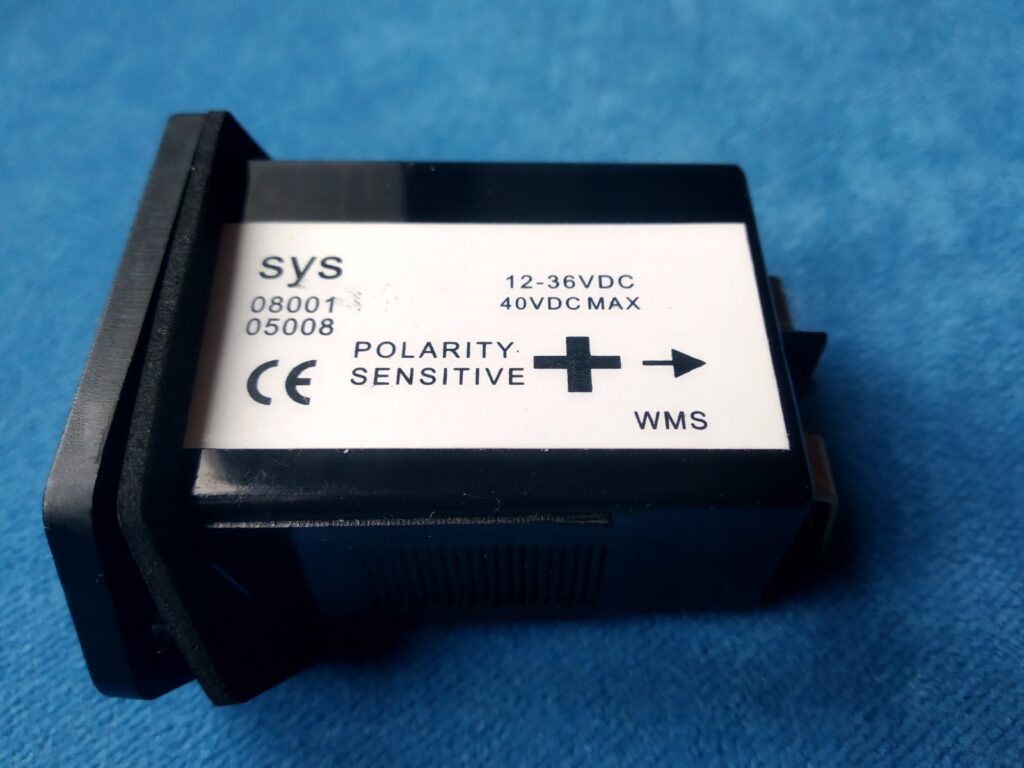
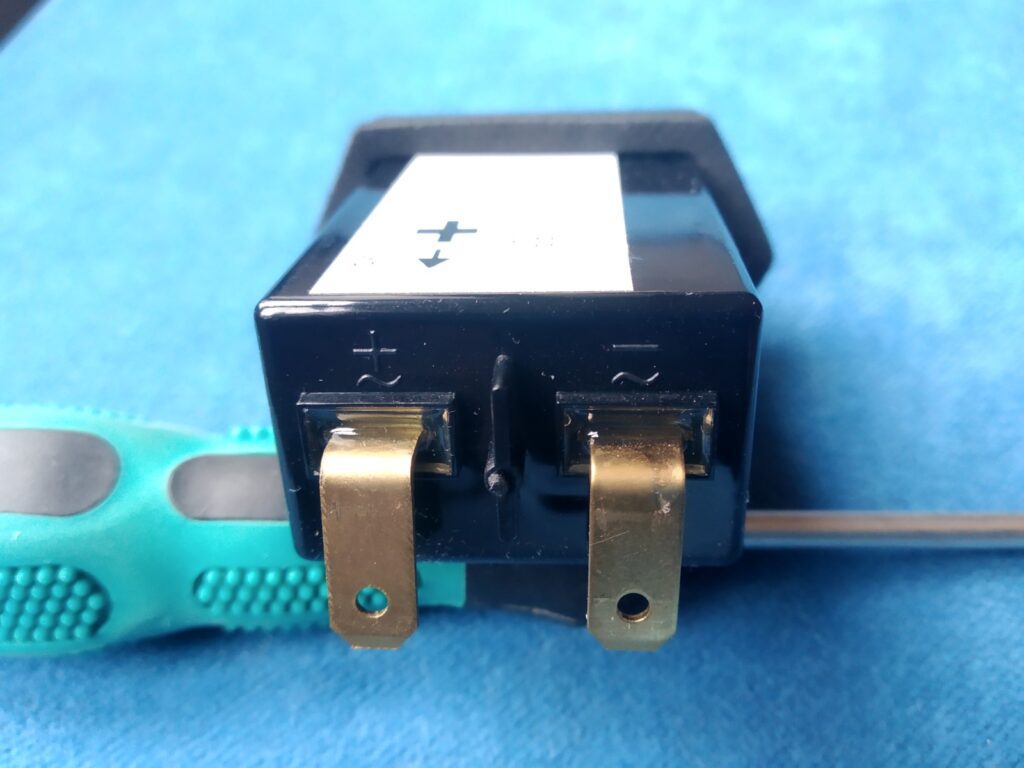
So, from where should we take the 12v line that we intend to wire up to our “hours” counter?
Firstly, some basic wiring know-how – all 0v “earth” lines on your boat should tie together at bus bars located around your boat. So the 0v line from the hours counter should be routed to its nearest bus bar. We then only need to worry about sourcing the correct 12v input for the meter.
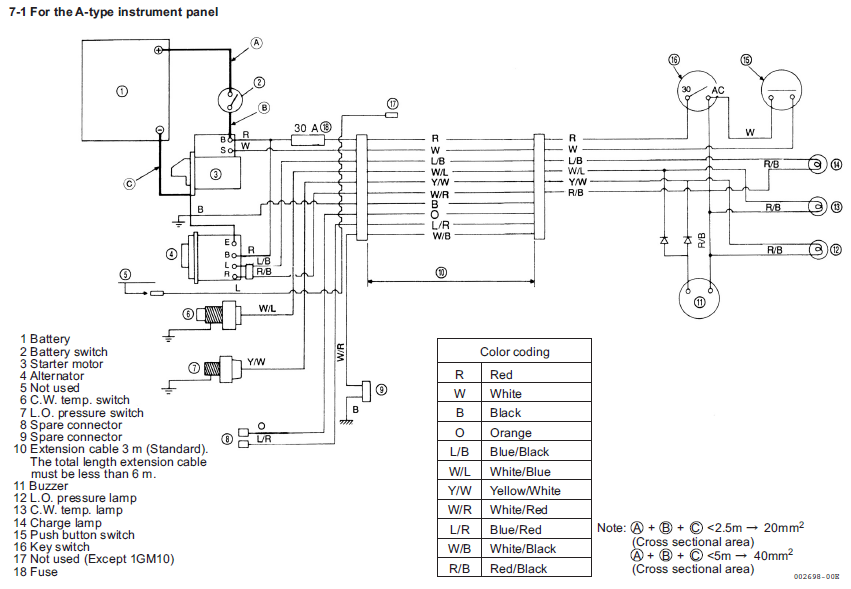
To do that, let’s consider the Yanmar GM Series wiring loom for engines supplied with control panel A.
